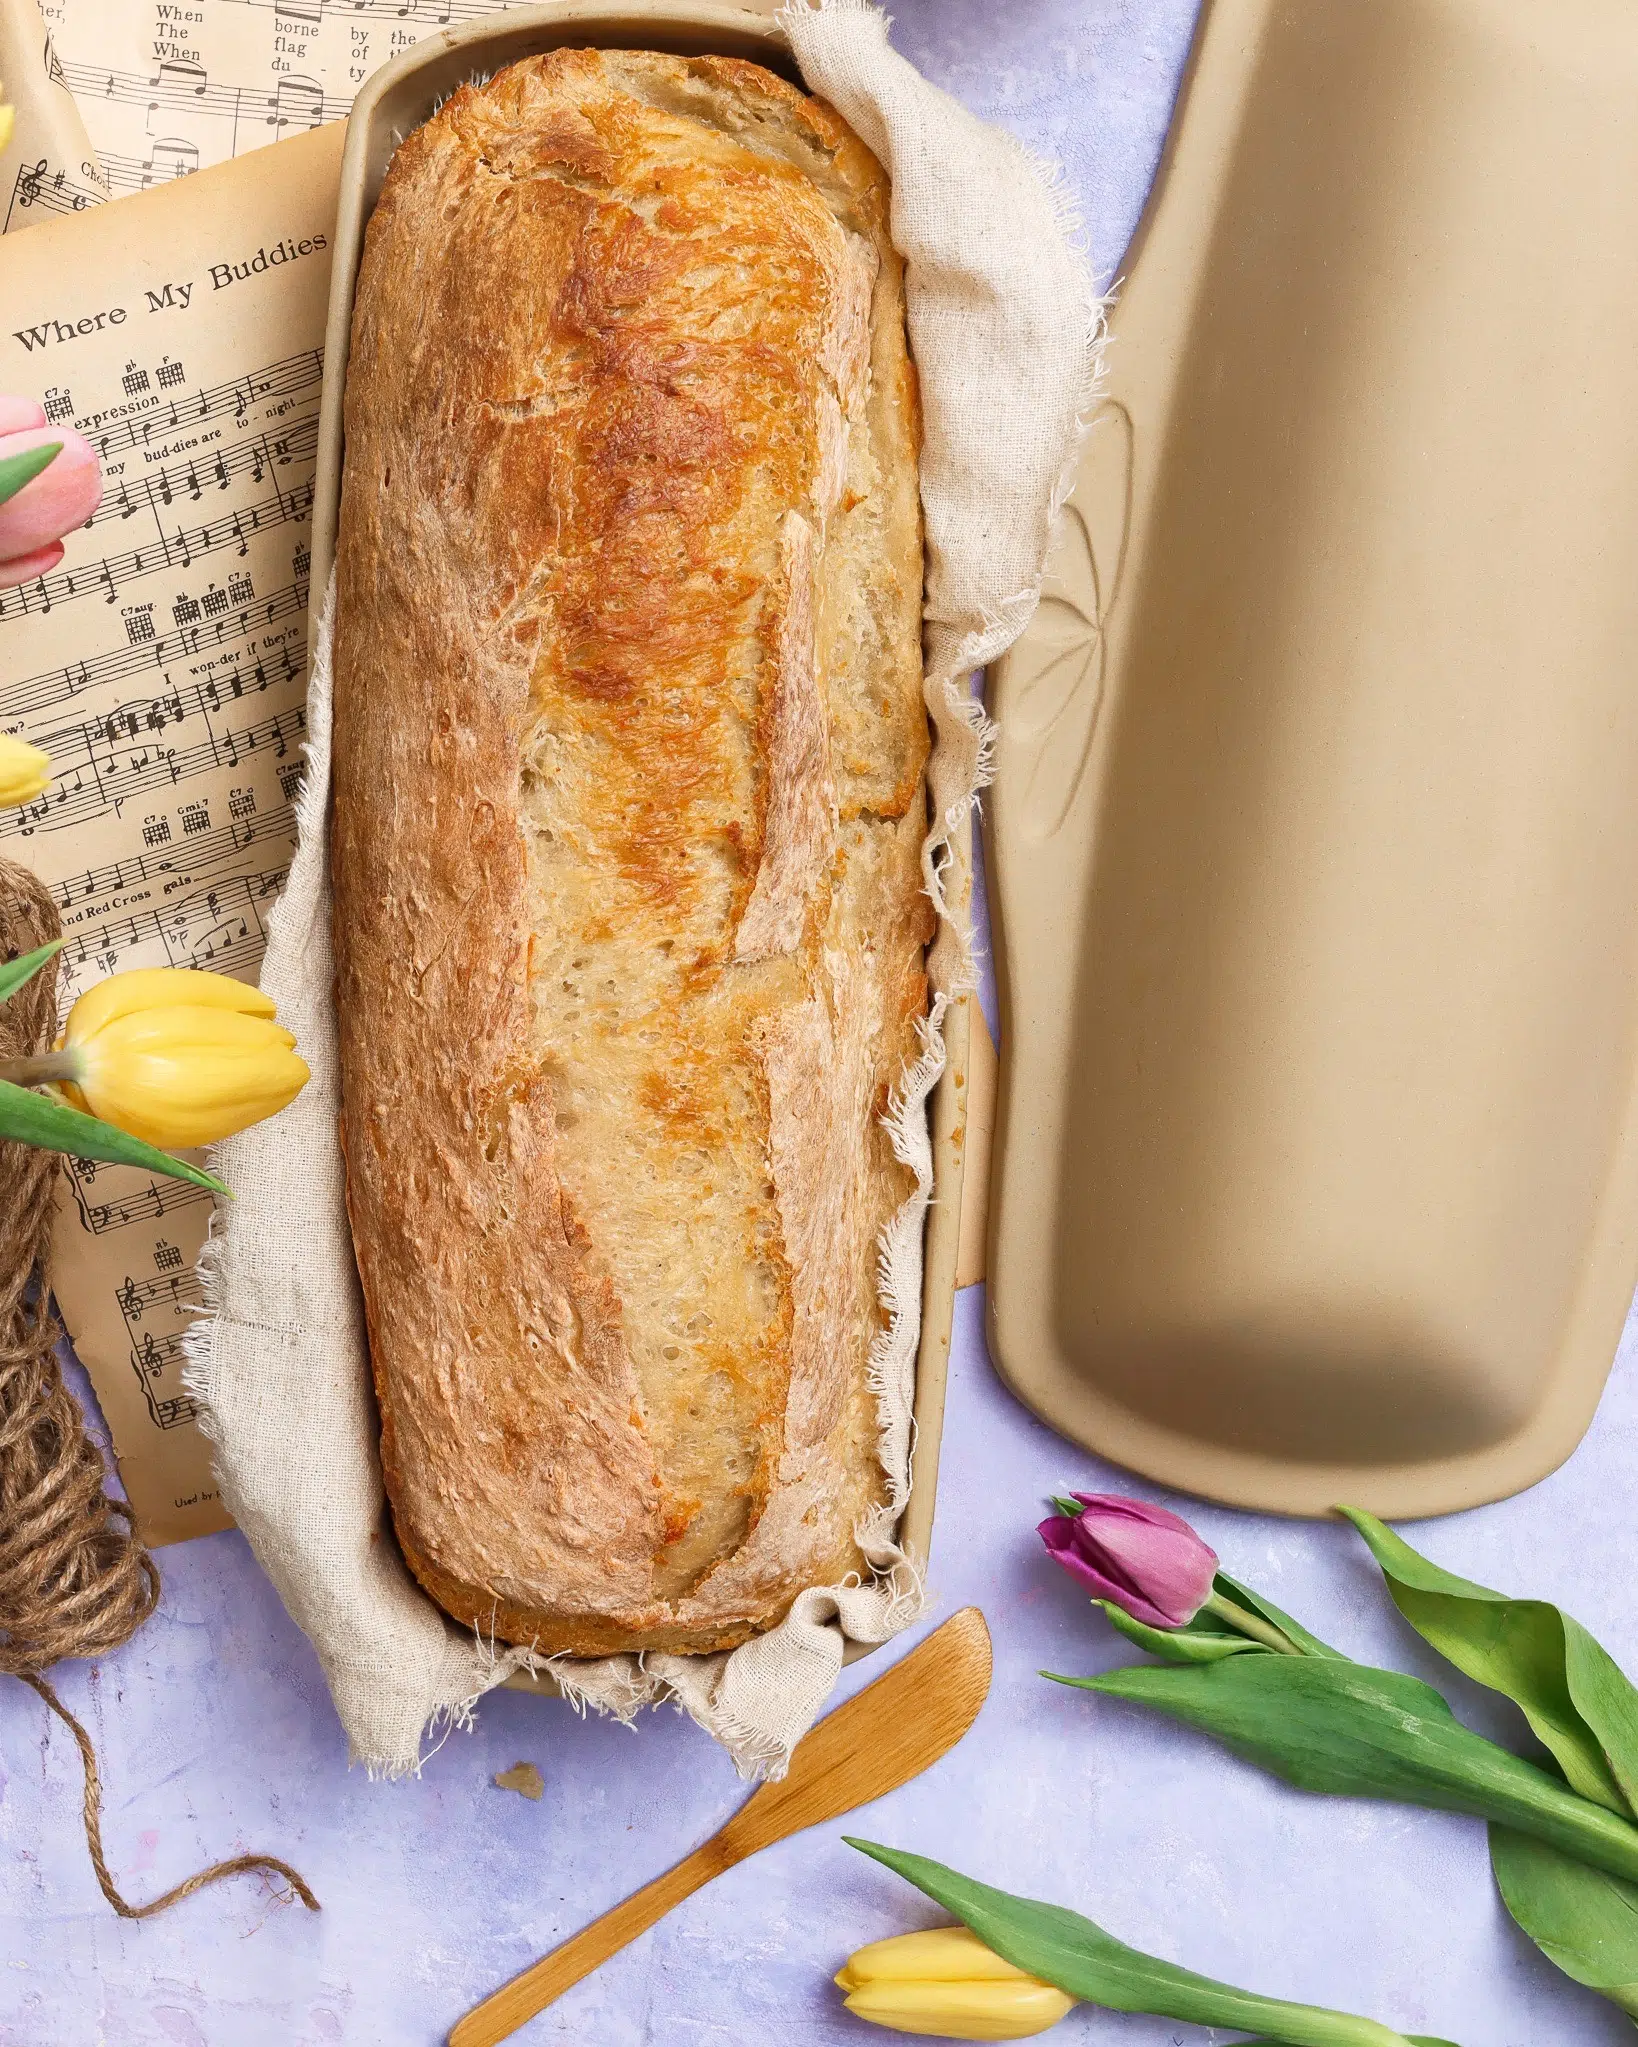
Easy No Knead Bread
Print Easy No Knead Bread If you’ve never baked bread before and want to try it, this is the recipe for you! With just five ingredients and little prep work, this recipe is as easy as it is delicious. Use it to make a sandwich

Ready for a delicious no-bake pumpkin cheesecake recipe? While fall begins at the end of September, we don’t really start to see the change of seasons until October. The Blue Ridge Mountains light up with a rainbow of oranges, yellows, and reds. The summer mugginess begins to fade, and the fall breeze — just a hint of winter — begins wafting through our campus.
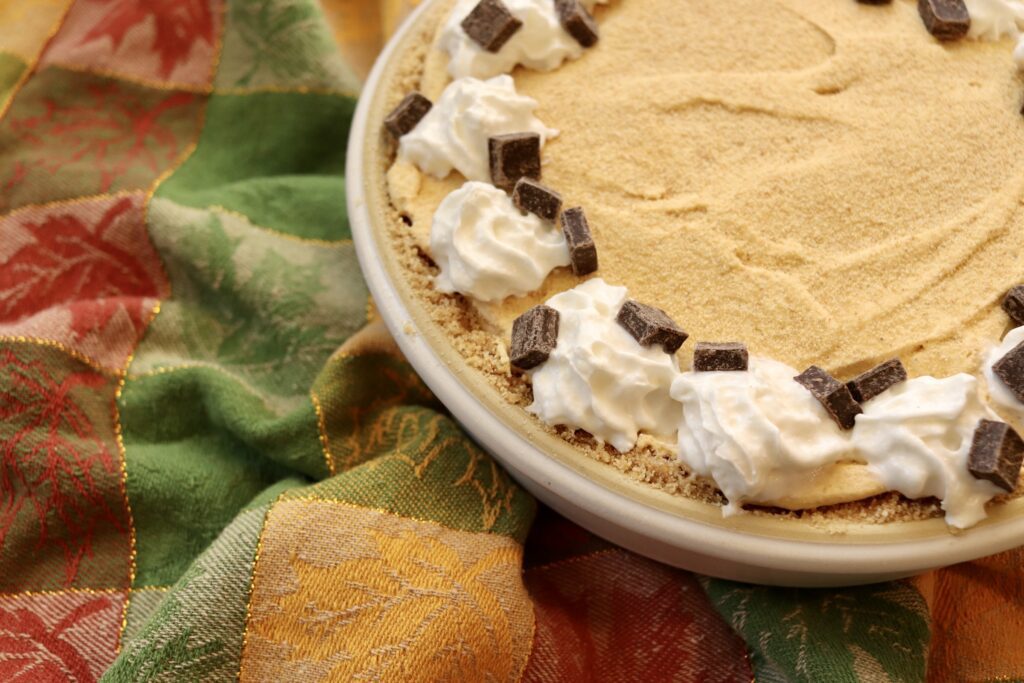
There are so many fall activities to fill up your calendar like apple picking, trick or treating, pumpkin carving, and, of course, baking! Autumn baking produces some of our favorite seasonal treats like pumpkin rolls, applesauce cookies, and pecan pie. We wanted to challenge ourselves this year by creating a no-bake version of one of our favorite desserts — pumpkin cheesecake.
It’s starting to feel like fall here in Central Virginia, and we’ve been craving something special: no-bake pumpkin cheesecake.
We love cooking and baking here at Emerson Creek Pottery, but it’s hard to find time to bake a cheesecake. Between baking time and chilling time, it can take an entire afternoon to make a cheesecake. This no-bake cheesecake recipe from Sally’s Baking Addiction simplifies the process without compromising on flavor.
Everything from the crust to the pumpkin pie filling is homemade, and it only takes 20 minutes to prepare. Assemble this cake in just a few minutes before work and come home to a perfect no-bake pumpkin cheesecake!
First and foremost, we love this no-bake pumpkin cheesecake recipe because of how easy it is. It takes just 20 minutes to make something that tastes like it took 2 hours or more.
We also like that this recipe uses homemade crust. While most recipes can be adapted to include a homemade crust, we’ve found that most no-bake cheesecake recipes call for a pre-made pie crust. While these types of crusts are convenient, they aren’t always as tasty as homemade crusts, and they come with lots of disposable packaging like an aluminum pie pan and a plastic lid to cover leftovers.
Using a recipe with a homemade crust allowed us to make this delicious cheesecake in one of our stoneware bakers. While we do have a pie plate made especially for pies, our BROOKLINE Baker was the perfect vessel for this recipe. The sides of our pie plates are sloped like a traditional pie pan, but the sides of the BROOKLINE Baker are straight, resembling a springform pan.
Prep: 20 minutes | Refridgerate: 8 hours | Total: 8.5 hours
Yield: 1 Cheesecake
This recipe is from and developed by Sally’s Baking Recipes.


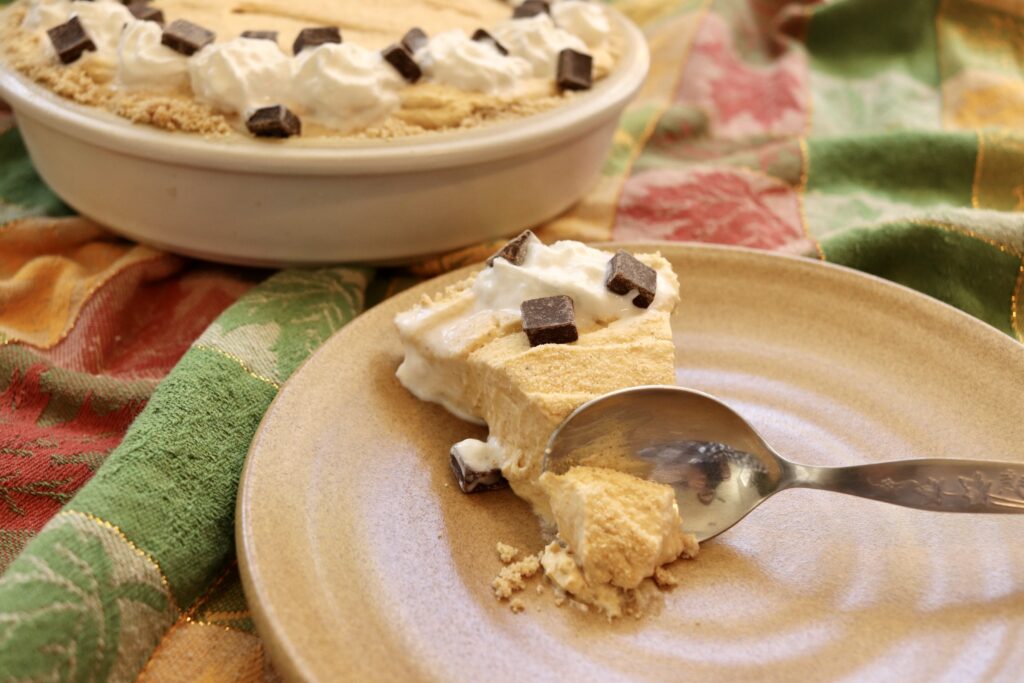
While the recipe calls for a gingersnap crust, we opted for a traditional graham cracker crust — found in the Perfect No-Bake Cheesecake recipe from the same author — because we couldn’t find gingersnaps at Aldi. (We’re avid Aldi shoppers here at Emerson Creek Pottery.)
The graham cracker crust is fun to make and mixes up easily. To create graham cracker crumbs, we put whole graham crackers in a gallon-sized zipper bag and smacked them with a rolling pin. Once the crackers were broken up into relatively small chunks, we rolled them out until they were nice and crumbly.
The cheesecake filling tasted great on its own — like a pumpkin pudding — but it tasted even better in the graham cracker crust!
To make it look pretty, we added some decorations — whipping topping, chocolate nibs, and more graham cracker crumbs.
Overall, this recipe was fun and easy to make. We think the graham cracker crust may have needed to have been baked to help it stick together a bit better, but the flavor was fantastic. We will definitely be making this recipe again!
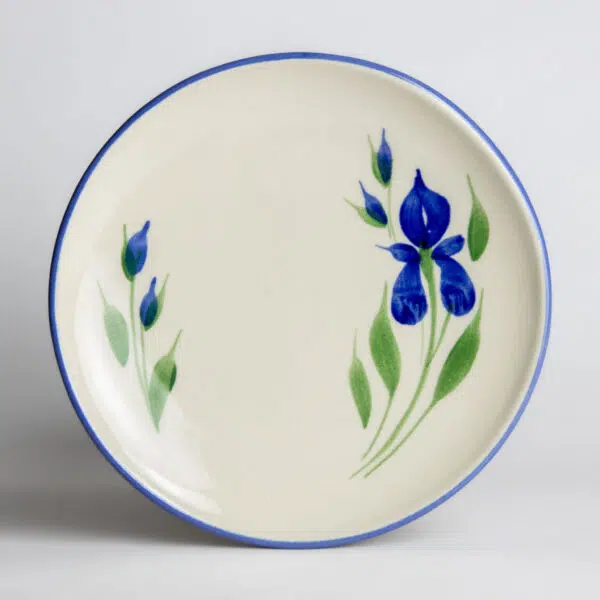
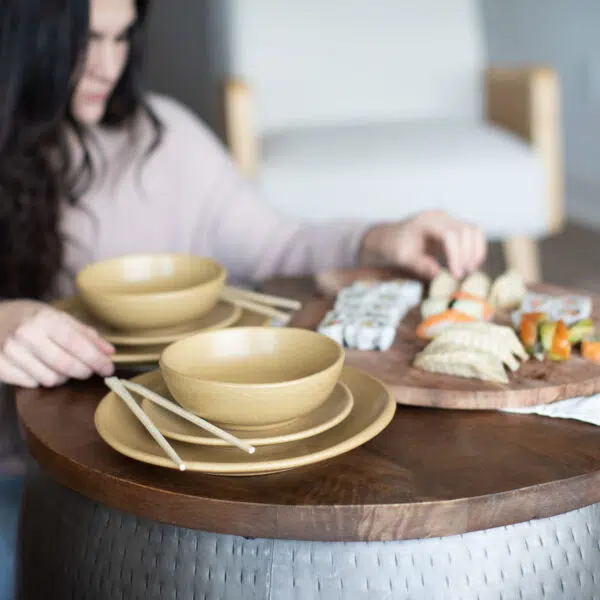
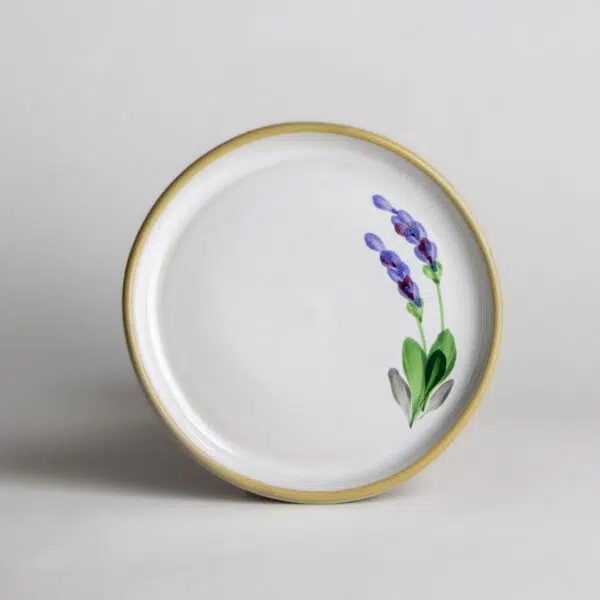
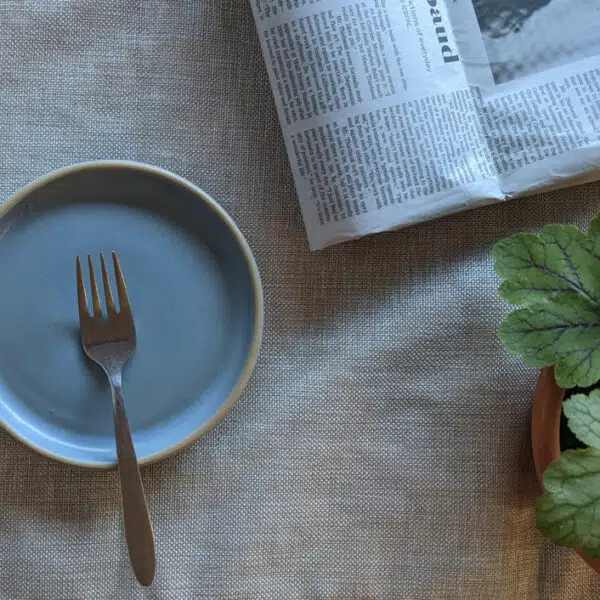
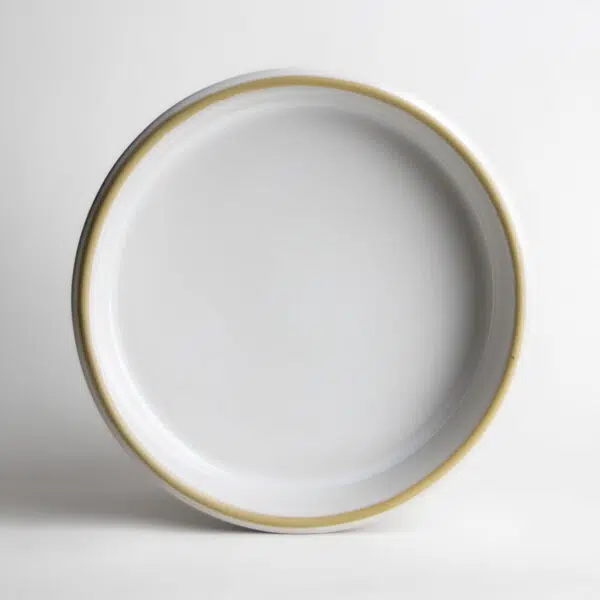
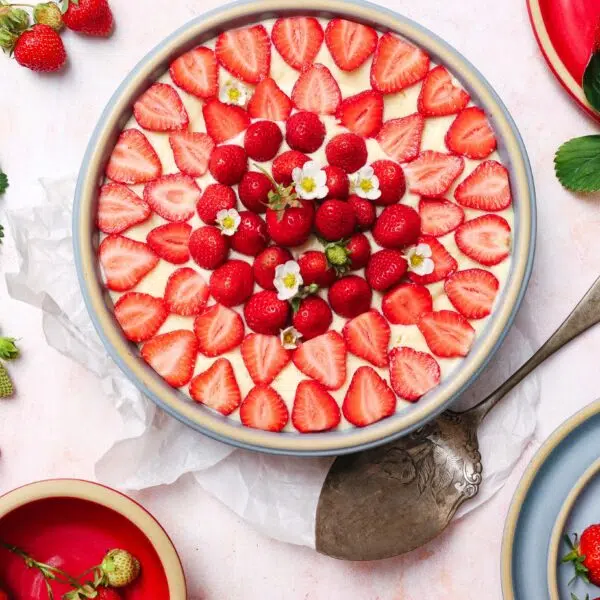
We used our BROOKLINE Baker in Ivory to make this recipe. View it here.
Part of our new BROOKLINE collection, the BROOKLINE Baker is the jack-of-all bakeware. Its 1.5-quart capacity makes it an excellent vessel for quiche, nachos, and, of course, cheesecakes. Most recipes that call for a 9-inch round cake pan work well in this baker — We argue that they turn out better in our stoneware baker than in a traditional aluminum cake pan. Our custom stoneware clay formula evenly distributes heat and gives you the perfect bake every time!

Print Easy No Knead Bread If you’ve never baked bread before and want to try it, this is the recipe for you! With just five ingredients and little prep work, this recipe is as easy as it is delicious. Use it to make a sandwich
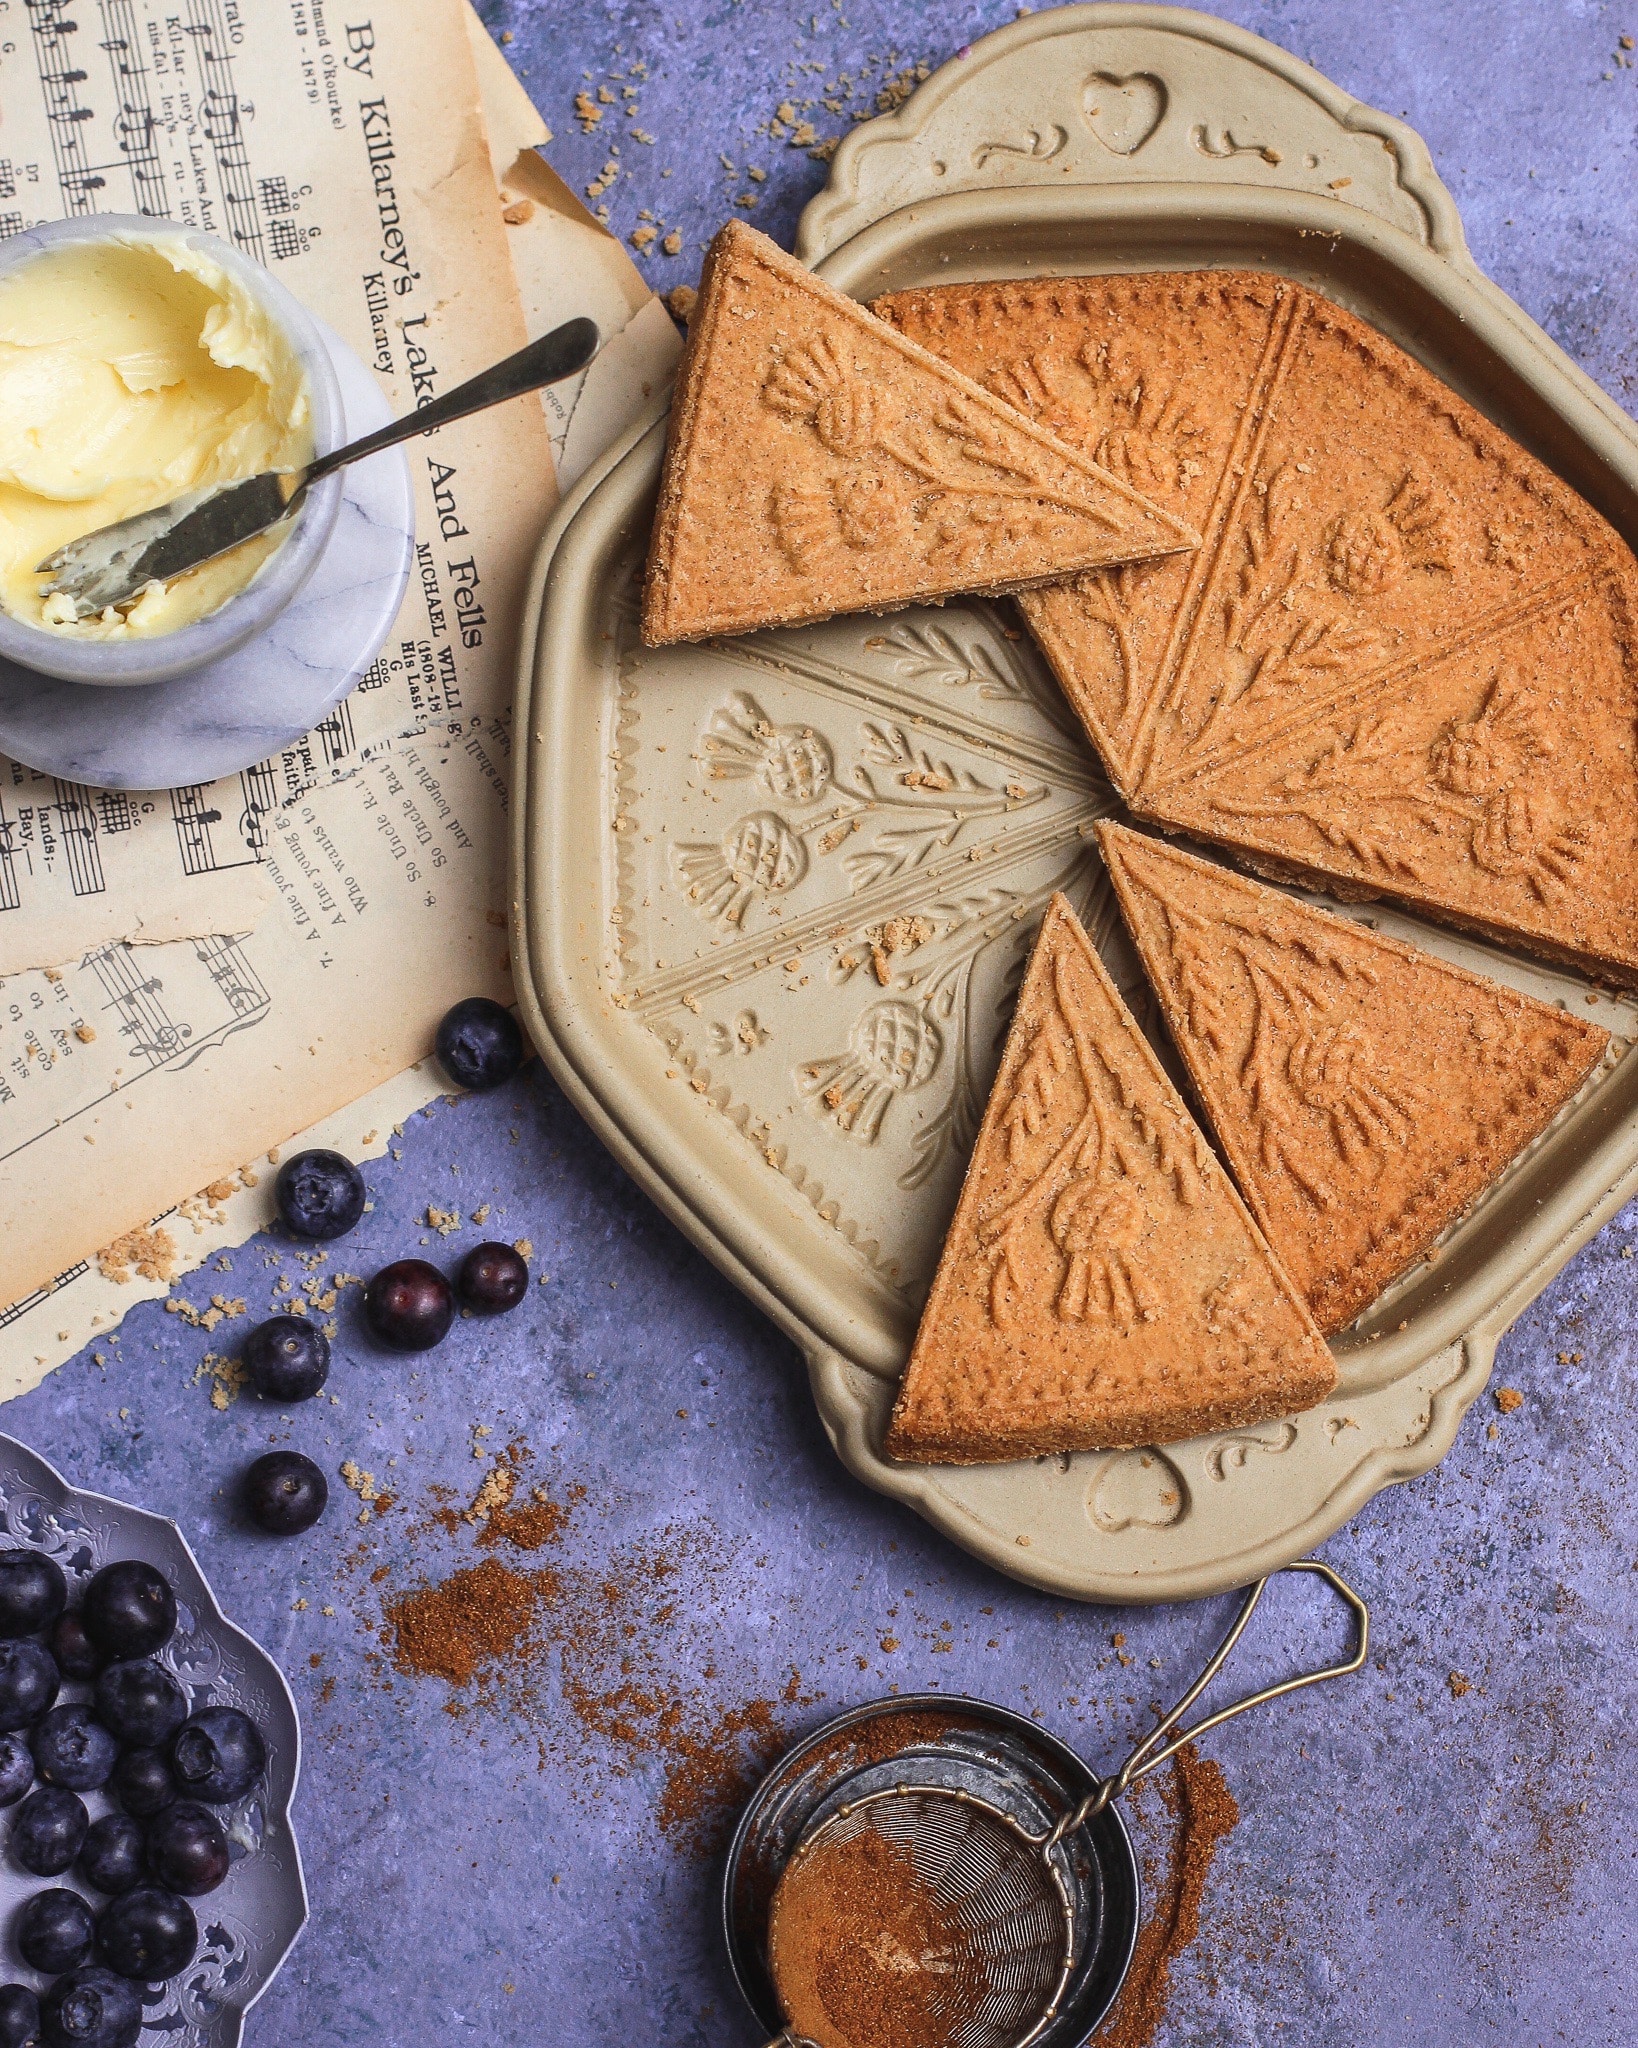
Print Buttery, flaky and irresistible—there’s a reason why this timeless biscuit has been passed down in coveted family recipes for generations. It’s the perfect addition to any lunch or afternoon tea spread or can be a wonderful welcoming gesture for incoming guests and friends. We
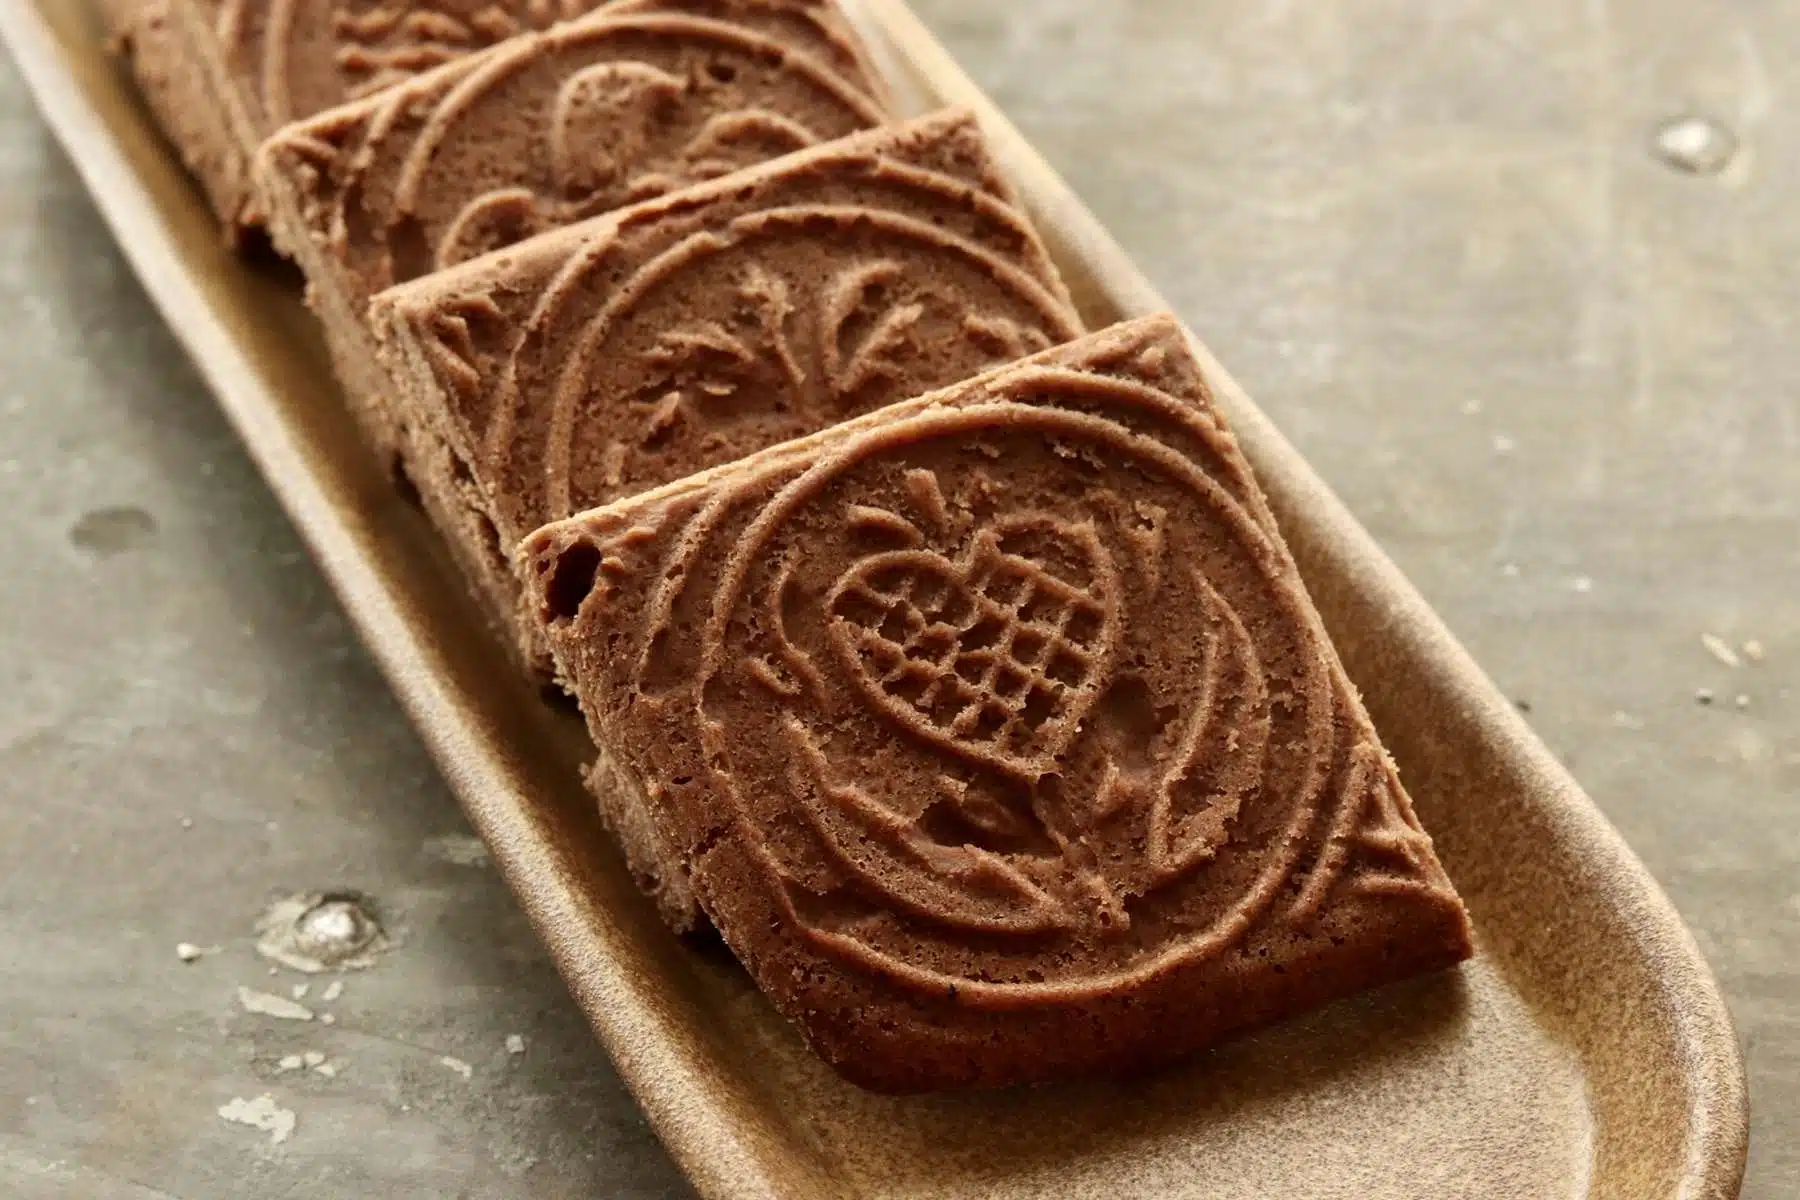
Print We’re excited to share our Chocolate Shortbread recipe with you this month! Unlike some of the other recipes we have shared so far, like our Spicy Shortbread and Ginger Shortbread, our Chocolate Shortbread uses powdered sugar rather than brown sugar, giving these cookies a

Handcrafting functional art in the USA since 1977.
Receive 10% off your first order! Sign up for recipes, sales announcements and more.